


How to Repair Roof Flashing Before Leaks Spread
A brown mark on the ceiling near a chimney or upstairs wall often points to one small but critical problem: failed flashing. To repair roof flashing properly, the damaged area has to be traced back to its source, opened carefully, and rebuilt so water is directed onto the roof surface instead of behind it. A quick bead of sealant may slow a drip, but it rarely provides a lasting answer in Winnipeg’s freeze-thaw cycles, wind, snow, and heavy rain.
Roof flashing is the metal material installed where shingles meet a chimney, wall, skylight, vent pipe, valley, or roof edge. These are the places where water changes direction and where even a narrow gap can send moisture into the roof deck, insulation, and wall structure. The repair is usually small compared with a full reroof, but delaying it can turn a manageable job into damaged timber, mould growth, stained ceilings, and interior repairs.
When to Repair Roof Flashing
Flashing does not always fail with an obvious hole. It may lift at an edge, crack around a fastener, rust through, separate from masonry, or become exposed as surrounding shingles wear away. In some cases, the flashing itself is sound but the sealant, shingles, or roof underlayment around it have reached the end of their service life.
Homeowners should arrange an inspection when they notice a leak after wind-driven rain, water marks near a chimney breast, dampness around a skylight, loose metal visible from the ground, or granules collecting heavily in the eavestroughs. A musty smell in the loft or upper floor can also be an early warning, particularly after spring thaw.
It is worth acting before a leak becomes regular. Water can travel along roof decking or framing, so the stain inside is not always directly below the failed flashing. Finding the true entry point takes a close exterior inspection rather than guesswork.
Common flashing trouble spots
Chimneys are a frequent concern because they have several flashings working together: step flashing along the sides, apron flashing at the lower edge, and counterflashing set into the chimney masonry. If one section fails, water can work behind the others.
Sidewalls need correctly lapped step flashing beneath every course of shingles. A wall-to-roof joint covered only with sealant or one continuous surface strip is more likely to leak as materials expand and contract. Skylights, plumbing vents, dormers, and roof valleys also need careful attention because they manage concentrated water flow.
Ice dams create another risk in Manitoba winters. When snow melts and refreezes at the eaves, water can back up beneath shingles and test every weak point around flashing. The visible leak may appear to be a flashing issue, while poor attic insulation, ventilation, or ice-and-water protection is contributing to the problem. A proper diagnosis considers the full roof system.
What a Lasting Roof Flashing Repair Involves
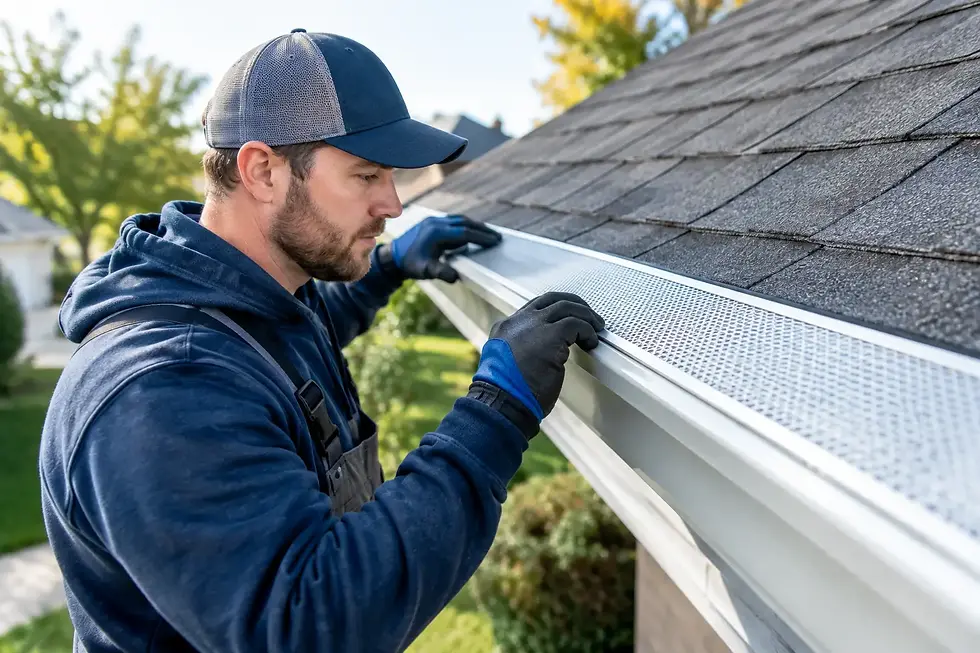
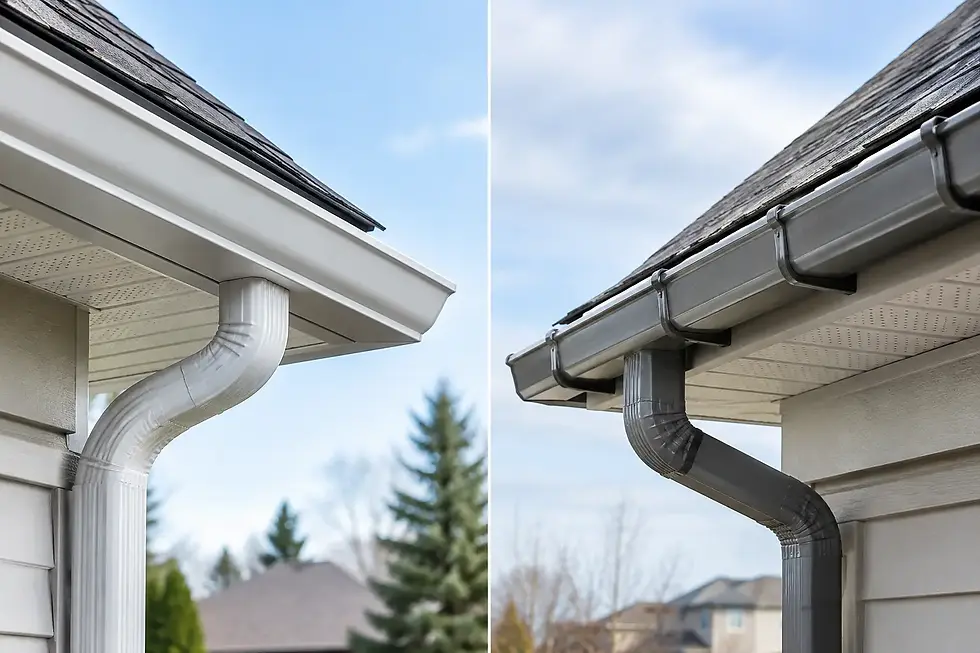
A durable repair begins with identifying whether the issue is isolated or part of broader roof deterioration. A contractor should check the condition of nearby shingles, roof decking, underlayment, fasteners, masonry joints, and the eavestrough system. Water overflowing from blocked eavestroughs can repeatedly soak roof edges and fascia, making an otherwise sound repair work harder than it should.
For a localised failure, the work may involve lifting and replacing shingles around the affected area, removing compromised flashing, inspecting the deck for moisture damage, and fitting new flashing with the correct overlaps. New shingles are then integrated so water sheds naturally down the roof. Flashing is a drainage detail first, not simply a metal cover held in place by caulk.
Where a chimney is involved, damaged mortar joints may need attention before new counterflashing is installed. Where the roof deck has softened or decayed, it should be replaced before roofing materials are put back. Covering rotten timber only traps the problem where it cannot be seen.
Sealant still has a role. Quality roof sealant can protect selected joints, fasteners, and terminations, but it should support correct flashing installation rather than replace it. In cold weather, sealant can become brittle, and in strong summer sun it can degrade. A repair that depends entirely on a thick line of sealant is unlikely to offer long-term value.
Can You Repair Roof Flashing Yourself?
Some minor maintenance is suitable for a careful homeowner. Clearing debris from valleys and eavestroughs, checking for loose sealant from the ground, and watching for visible damage after a storm are all useful steps. If accessible without walking on the roof, a small amount of compatible sealant at an intact flashing joint may be a short-term measure while arranging a professional repair.
Replacing flashing under shingles is a different job. It requires working at height, lifting shingles without damaging them, preserving the underlayment, and getting every lap in the right order. Incorrectly placed nails or poorly lapped metal can create a leak that remains hidden until the next major storm.
The risk is not only workmanship. Older shingles can crack when lifted, especially after several Manitoba winters. A homeowner may start with a loose flashing corner and end up disturbing a larger section of an ageing roof. For chimney, skylight, valley, or wall flashing, professional assessment is usually the sensible choice.
Repair or Replacement: How to Decide
Not every flashing problem calls for a new roof. If the roof is otherwise in good condition and the failure is confined to one detail, a targeted repair can be the most cost-effective option. This is often the case after a windstorm has lifted a small section of metal or when a vent flashing has split.
Replacement becomes more practical when shingles are brittle, curling, missing granules, or near the end of their expected lifespan. Repeated leaks around several roof penetrations, widespread rust, soft decking, or failing chimney flashing can also indicate that piecemeal work will only postpone a larger project.
There is a trade-off to consider. A small repair costs less now, but installing new flashing into a roof that needs replacement within a year or two can mean paying for similar labour twice. An honest inspection should explain both options clearly, including what can be repaired safely and what is likely to fail next.
Protecting Flashing After the Repair
Once flashing has been repaired, ongoing maintenance helps it perform as intended. Keep eavestroughs and downpipes clear so water does not back up at roof edges. Trim branches that scrape the roof or drop heavy debris into valleys. After severe wind, hail, or an abrupt thaw, check for displaced shingles and call for an inspection if anything looks out of place.
Attic ventilation and insulation matter too. They help control uneven snow melt and reduce the conditions that lead to ice dams. If a roof leak occurs only during thawing weather, mention that detail during the inspection. It can help identify whether the roof needs a flashing repair, improved ventilation, better ice-and-water protection, or a combination of measures.
H2H Exteriors provides practical roof repair assessments for homeowners in Winnipeg and surrounding Manitoba communities. With more than 20 years of exterior experience, the focus is on identifying the cause of the water entry and completing the repair with materials and workmanship suited to local conditions. A clear, free estimate gives you the information to decide without pressure.
A flashing leak is rarely something to leave until next season. Arrange an inspection while the affected area is still limited, and you have the best chance of protecting the roof, the structure beneath it, and the rooms you call home.

Comments