


How to Repair Water Damaged Fascia Boards
Water stains beneath the eaves, peeling paint, sagging eavestroughs, or soft timber at the roofline are not cosmetic problems. To repair water damaged fascia boards properly, you first need to stop the water that caused the damage. Otherwise, a new board can begin to rot just as quickly as the old one - especially after a Winnipeg winter of snow, ice, wind and repeated freeze-thaw cycles.
Fascia is the long board fixed along the lower edge of a roof. It gives the roofline a clean finish, supports the eavestrough system and helps protect the exposed ends of roof rafters. When it fails, water can move behind the eaves, into soffits, roof decking and wall cavities. Acting early usually keeps the repair smaller, safer and more affordable.
What causes water-damaged fascia boards?
The fascia board is often where a drainage or roof problem becomes visible. The board itself may be timber, but the source of the moisture can be higher up on the roof or inside the eavestrough.
Blocked eavestroughs are a common cause. Leaves, shingle grit and ice can stop water from flowing to the downpipes. During heavy rain, water then spills over the front or back edge of the trough and repeatedly soaks the fascia. A trough with poor slope, loose brackets or leaking joints can cause the same trouble, even when it appears clear from the ground.
Roof defects also matter. Missing or cracked shingles, damaged drip edge, failing flashing, and ice dams can direct water behind the gutter line. In Manitoba, snowmelt that refreezes at the eaves can trap water on the roof and force it into areas that should remain dry. Poor attic ventilation may add condensation to the problem, particularly if frost forms inside the roof space during cold weather.
Before replacing anything, identify the path of the water. Repairing only the visible rot without correcting a clogged trough, failed drip edge or roof leak is a short-term patch, not a lasting repair.
Signs fascia damage needs attention now
A close inspection from the ground can reveal a lot. Look for paint that is bubbling or flaking, dark water marks, visible splitting, soft spots, warped metal cladding, or eavestrough sections that sag away from the roofline. Water marks on the soffit panels below the fascia can mean moisture is getting behind the system.
More serious signs include a gutter pulling loose, birds or insects entering gaps at the eaves, mould-like staining, or damp patches on interior ceilings near an outside wall. If the board feels soft when gently probed, or pieces of timber break away, replacement is usually more sensible than filling and repainting.
Do not climb onto a ladder in wet, icy or windy conditions. Fascia work is done at roof level, often beside heavy eavestrough sections and power lines. A professional inspection is the safer choice where damage is widespread, access is difficult or the roof itself may be leaking.
Can you repair water damaged fascia boards or should you replace them?
The answer depends on how far the rot has travelled. Minor surface deterioration may be repairable if the board remains solid, the rafter ends are sound and the moisture source has been fixed. After drying the area thoroughly, loose paint and damaged material can be removed, small defects can be filled with an exterior-grade repair compound, and the surface can be primed and painted.
That approach is only suitable for genuinely localised damage. Filler cannot restore structural strength to soft or decayed timber. If the fascia is crumbling, bowed, split along long sections, or no longer holding eavestrough fasteners securely, remove and replace the affected board.
Replacement is also the better option when water has reached the soffit, roof decking or rafter tails. Those concealed areas need checking before new fascia is installed. Covering rot with aluminium fascia cladding may improve the appearance for a while, but it traps an existing problem rather than solving it if the timber behind is wet or unsound.
The right repair process
A dependable fascia repair follows a sequence. Skipping steps is how a small repair becomes a repeat call-out after the next storm.
1. Trace and fix the water source
Inspect the roof edge, drip edge, shingles, flashing, eavestrough slope, joints, outlets and downpipes. Clear debris and confirm that water can flow freely away from the home. If ice dams are recurring, the roof and attic ventilation may need assessment rather than simply adding another gutter repair.
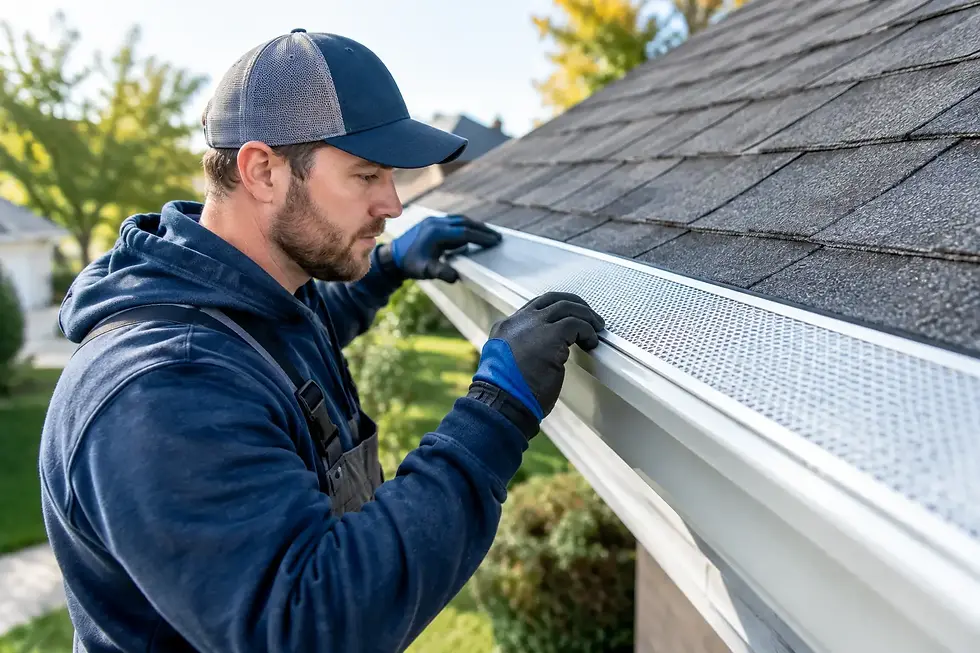
For homes surrounded by mature trees, regular eavestrough cleaning or a properly installed leaf-protection system can reduce future overflow. It will not correct an undersized, poorly sloped or damaged trough, but it can help keep a sound system working as intended.
2. Remove the eavestrough where necessary
Eavestroughs are normally fixed through the fascia, so they must be carefully supported and removed before a full board replacement. This is also the right time to inspect brackets, end caps and joints. Reusing a bent or leaking gutter against new fascia undermines the repair.
3. Open up the damaged area
Remove fascia cladding, trim and the failed board until you reach dry, solid material. Check the soffit edge and the ends of the roof rafters for rot. Any damaged framing should be repaired before installing the new fascia. This part is essential because the fascia is only as secure as the structure behind it.
4. Install durable materials with proper protection
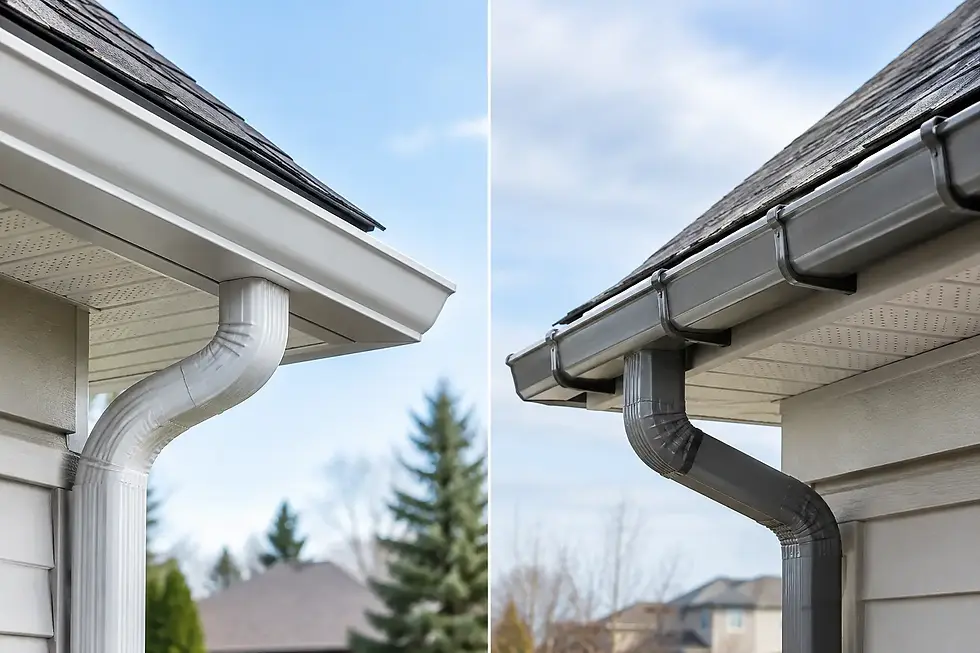
New fascia should be straight, securely fixed and suited to the exposure of the home. Timber fascia can perform well when correctly primed, painted and protected from standing water. Many homeowners choose low-maintenance aluminium fascia cladding over sound substrate to create a clean finish and reduce painting needs.
The roof edge needs correct drip protection so water falls into the eavestrough rather than behind it. Soffit ventilation must remain open where required. A neat-looking installation that blocks ventilation or sends water behind the gutter will create problems that are harder to see and more expensive to correct.
5. Refit and test the drainage system
The eavestrough should be rehung with the right fall towards the downpipe and securely fastened to the repaired fascia. Once complete, test it with water. Look for overflow, pooling, leaks at joints and water running down the siding. The goal is not just a straight roofline - it is controlled drainage away from the house.
Why Manitoba weather changes the repair decision
Winnipeg homes face conditions that are particularly hard on roof edges. Snow loads, ice buildup, wind-driven rain and rapid temperature swings put stress on shingles, flashing, fascia and eavestroughs. A minor autumn overflow can become significant wood rot after a season of snowmelt and refreezing.
That is why material choice and installation details matter. A repair should account for the condition of the roof, drainage capacity, attic airflow and the siding or soffit system nearby. For example, a home with recurring ice at the eaves may need a different solution than a home where one downpipe is simply blocked by debris.
There is also a budget trade-off. Repainting a board with limited surface wear costs less upfront than replacement. But where the timber is soft or the gutter is loose, repeated touch-ups are rarely good value. Replacing the damaged section and correcting the drainage problem normally provides the better long-term result.
When to call an exterior professional
Call for an inspection if the eavestrough is pulling away, the fascia damage extends beyond a short section, water is entering the attic or interior, or the roof edge shows signs of storm damage. Coordinating roofing, soffit, fascia and eavestrough work through one experienced exterior contractor helps ensure the details work together.
H2H Exteriors helps homeowners across Winnipeg and surrounding Manitoba communities assess water damage, identify the cause and complete repairs designed for local weather. A clear, no-pressure estimate should explain what needs immediate attention, what can wait and whether repair or replacement makes better sense for your property.
If you have noticed staining or sagging at the roofline, do not wait for the next heavy rain to test it. Arrange a free estimate by phone while the damage is still limited, and make sure the water has a proper route away from your home.

Comments